Wednesday, December 10, 2014

Primavera Ficcare Update 2: Epoxy Sculpt

I remembered I had this amazing compound laying around (my craft room closet is an immense horde of random things), and I decided to see if I could use this epoxy-based sculpture mix I have to make the patterned top for a Primavera clip.

After some elbow grease, I'd managed to clean most the Ice Resin off my poor battered test clip, and got out the mold and mold release.  There's still a thin, thin layer of Ice Resin in some parts of the mold, so I knew I'd have to sit down and spend forever picking that out for any real work.  But for this I was just looking for a general test to see if the pattern would work and if the epoxy sculpture mix would hold to a clip.

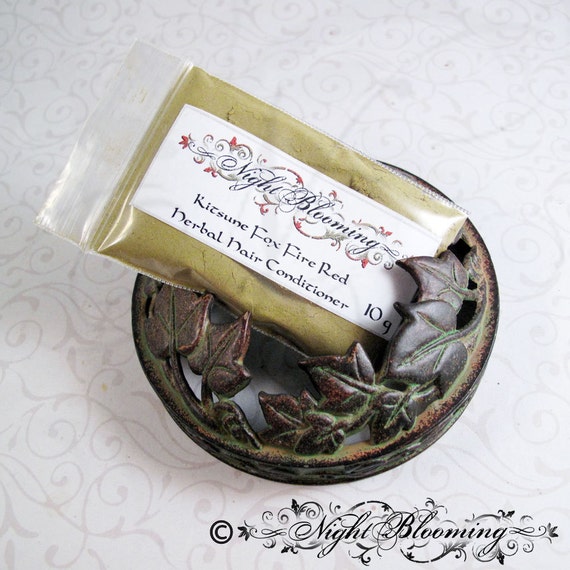
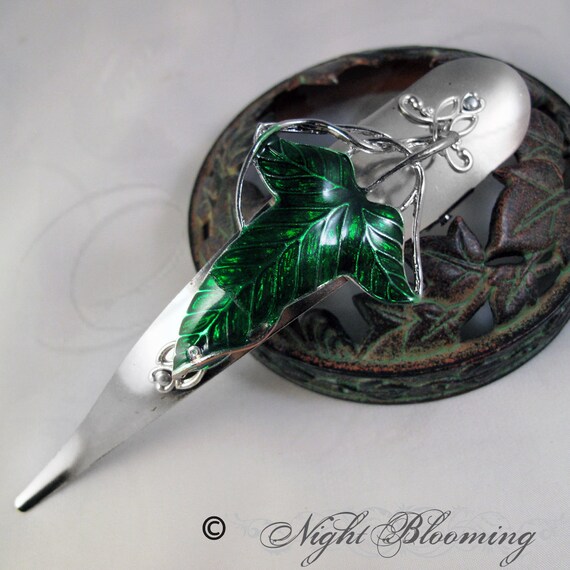
Here we are all set up with the clip, the mold and a mold-releasing compound:

The first thing I did was mix up a little bit of the compound and press it into one of the cleaner parts of the mold to see what sort of pattern I got.  Not too bad.


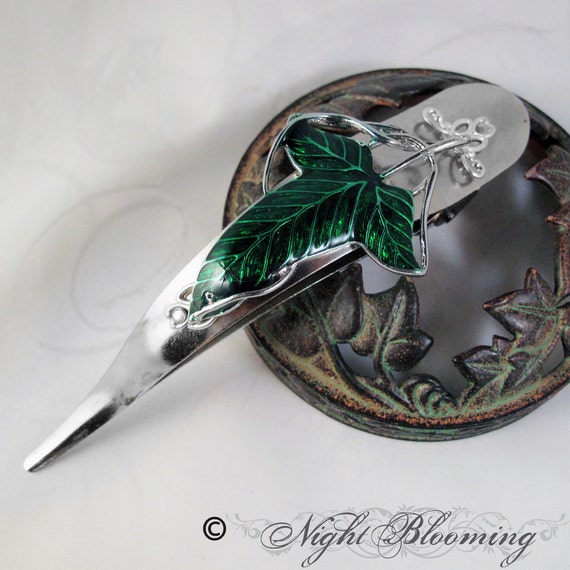
The I rolled some out and pressed it into the mold:


Then pressed the Ficcare into that.  The modling compound is cool in that it acts like a clay, but sticks and cures like an epoxy.  If this worked, it'd self-adhere to the metal clip.


And after it'd cured for a few hours I popped it out:


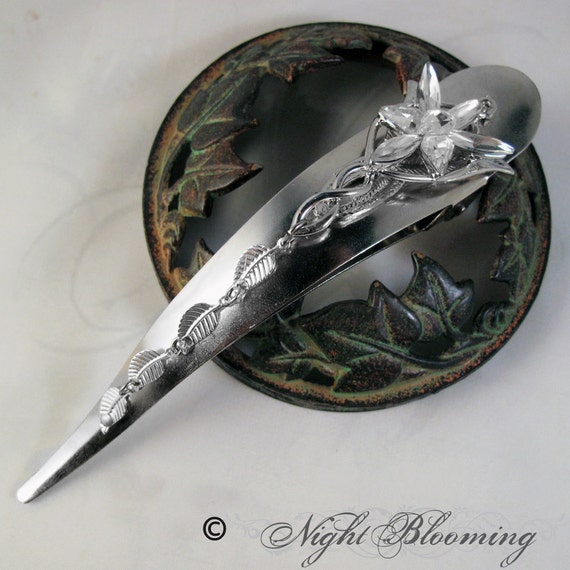
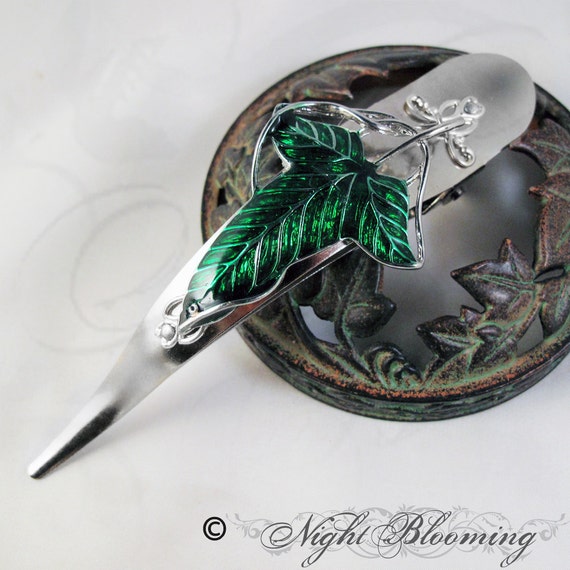
The bad news is that it wasn't quite centered and wound up being a little shorter at the top because the clip shifted.  Rather than stop the test, I pulled off the coating with the intent to transfer it to an Avian clip to finish up the plans for making it silver and seeing how the finish goes:


That's another test clip on the left, I was practicing Violet marbling for a faux border, but since it wasn't centered, I'm just covering it up with the Primavera test.

That mostly worked, but I had to cut off the silver bits that stuck out the top with my Dremel


And then I let it dry:


The pattern got a little muddy with me screwing with it so much, but its promising.  After this I cleaned up the edges, filling in the gaps and then sanding them smooth.

The next step is to primer and apply silver leaf and see how the finishing process goes.

Wednesday, December 3, 2014

Primavera Ficcare Update

So close and yet, so far.  This time I tried pouring the Ice Resin into the mold, then after it had set up a bit, putting the Ficcare atop of it. 

The problem is that the curves of a blank Ficcare and a Primavera aren't the same.  So there were gaps in the finish.   What did take, however, looks lovely.


Now I just have to figure out how to get it off so I can try it again. Mind you I'm not sure how to fix this (which is why I've been a little stalled on this), but there hast to be a way. 

ETA:  I have an idea.  And I'll have another update soon.  If I have no willpower and take off this afternoon to try, it might be REALLY soon. 

Friday, November 28, 2014

Black Friday/Cyber Monday Special Offers


Giving Thanks

I would first like to give all of my customers my deepest thanks.  This has been a crazy year with more sales than ever, new products (and more to come!), and the addition of honey bees.  NightBlooming was started, and is still here, because you continue to support this one crazy longhair in her endeavors.

This little shop means the world to me and I cannot thank you all enough for the support, the kind notes I get with orders, and the random convos telling me how thrilled you are with your purchases. 

I do this because it makes me happy to make you happy. <3


Special Offers


We have fantastic pricing on some special items, all posted as featured in the shop. These items will return to their normal pricing at 12am Tuesday Central time, so get them while you can!

The samples that are up are perfect stocking stuffers for the hair-lovers in your life :)  If you're participating in a Christmas Swap / Secret Santa, these are fantastic additions for anyone!


Go to the listing!


Go to the listing!

Go to the listing!

Go to the listing!


Thursday, November 20, 2014

Winter Bees

Winter Bees

It's been a busy fall (it always is).  There's herbs to collect, a billion leaves to rank and turn into leaf mulch, a garden to pull out, and now, bees to prepare for winter.  The bees are all settled in.  We've given the apiaries insulating roofs and insulation panels to help keep them warm. Inside, the bees will form a tight cluster around the queen, shivering their wing muscles to keep one another warm.  Think of how penguins in the Antarctic form one large group, taking turns on the outside and then moving back into the group to warm up.  Bees do something similar, and this cluster moves slowly through the hive in the winter, the bees on the outside of the cluster picking up honey and feeding it inwards.

They'll be dormant probably until sometime in April, and I worry.  I know people in Alaska keep bees, but still, the winters are very cold and long.  Hopefully they'll be okay!

We also acquired a new honey jar for the house.  It's small, which is awesome as I try to use it sparingly, but also fits perfectly in the pantry.


The reviews on it often complain about it being messy, but I haven't had an issue with it.  I just let the honey drizzle back into the jar until it stops for a second, then move the wand over the lip of the jar. 

Ficcare Update

I've got updates on the Primavara Project coming, so sit tight :)  It's just been super-busy, but I'm plugging away!


Wednesday, September 17, 2014

More Updated Packaging!

As some of you might have noticed awhile ago, we started updating some of our packaging.  Salve was the first product to get a big facelift, but we've got more changes!

Logo

First off, our logo.  It's cleaner and much easier to read at very large and very small sizes

Old Logo:


New Logo:


We gave salve a lift first because not only were the labels the most out of date, the product names were confusing.  For the rest of the products nothing is changing but the look, no name changes, no ingredient changes.  We're just trying to unify the look of our little product family!

Triple Moon Oil

The 4 oz size is all updated and the sample size will be getting its new label soon.  Here you can see the progression of our labels from 2008, to 2010, to 2014!  I'll be a good many of you don't even remember the first one.


Moondust

Same thing here!  The sample lid is done, but you'll see the jar label and refill bag label updated in the near future.  The listing said 2oz, but to be more specific it'll be changed to 75g, and the base refill amount for the refill bags will be 75g.  Just keeping everything consistent for units and then one refill bag will be enough to totally refill the jar.  At the moment it only fills it halfway and that seems confusing to people.  :)

Old Label:

New Label:


Herbal Color & Conditioners

This was the next big product area to take on after the salves!  The very first labels looked like this:
 

And then I did a short term upgrade on the 100g packs so they had the ingredients on them:


But now they look so lovely.  I'm so proud to have these on our products now!


Thank you cards

This was the old one.  A few of you have seen many, many of these.  And then I'd scribble a thank you on the back that you may or may not have been able to read:


And here's the new one :)  Still my signature, but you can actually read it now!


Some of these, like the herbal hair color labels, are so new that I haven't even gotten updated product shots yet, but I was so excited and wanted to let everyone know about the changes on the way!


Friday, September 5, 2014

Silver Strike Ficcare Repair

I had a lovely customer (who said it was okay to post about this) send me a Small Silver Strike Ficcare where the enamel had broken off the tip:


She wanted to know if, perhaps, I could decorate it somehow and cover up the end.  But the more I looked at it the more I thought I could actually just repair it.  I asked if I could try, and my customer agreed to let me have at and see how it went.

Here's a few more pictures of how it looked before I got started:


The biggest challenge was the height difference.  It wouldn't be enough just to paint silver and black streaks on the metal because the enamel itself is thick so there'd still be a ridge.  You can see that ridge pretty well here, where I've put a primer coat on the bare metal:


From there I started with painting over the primer with black, and then adding in some silver streaks.  It wasn't looking super-promising at this point, but it wasn't bad enough for me to give up, either.


Over top of this I put a coat of ice resin.  Once that had dried I dry-brushed on more silver and black streaks, taking care to match the angle of the ones on the existing enamel.  It was starting to look like something and the height difference had diminished a bit.
 
 
Five layers of ive resin and paint later, the ridge had been nearly evened out:


Then I brushed up over the existing enamel a bit to blend it better and then gave it two more ice resin coats to make the entire surface uniform.  And here's how it turned out!  I'm very pleased with it, and don't think you'd be able to tell it had been repaired even if you had it in your hands:


Tuesday, September 2, 2014

Pretty but not Perfect Sale: LotR Avian Clips

We have a few items going up that are pretty, but not perfect. I didn't want these still generally lovely components to go to waste despite some imperfections. So if you've wanted a Lothlorien Leaf or Evenstar clip but couldn't afford them before, this is a great chance!

Please note that all these items are discounted! They are sold as-is and its flaws are detailed in the listing and photos.


Evenstar $65


Lothlorien Leaf 1 $55


Also, just a reminder!  December is coming up quickly, so if you want some LotR goodies in time for the next movie, you'll want to get on the custom order list soon!